0

Your Cart is Empty

Clothing
Accessories
New
Collections

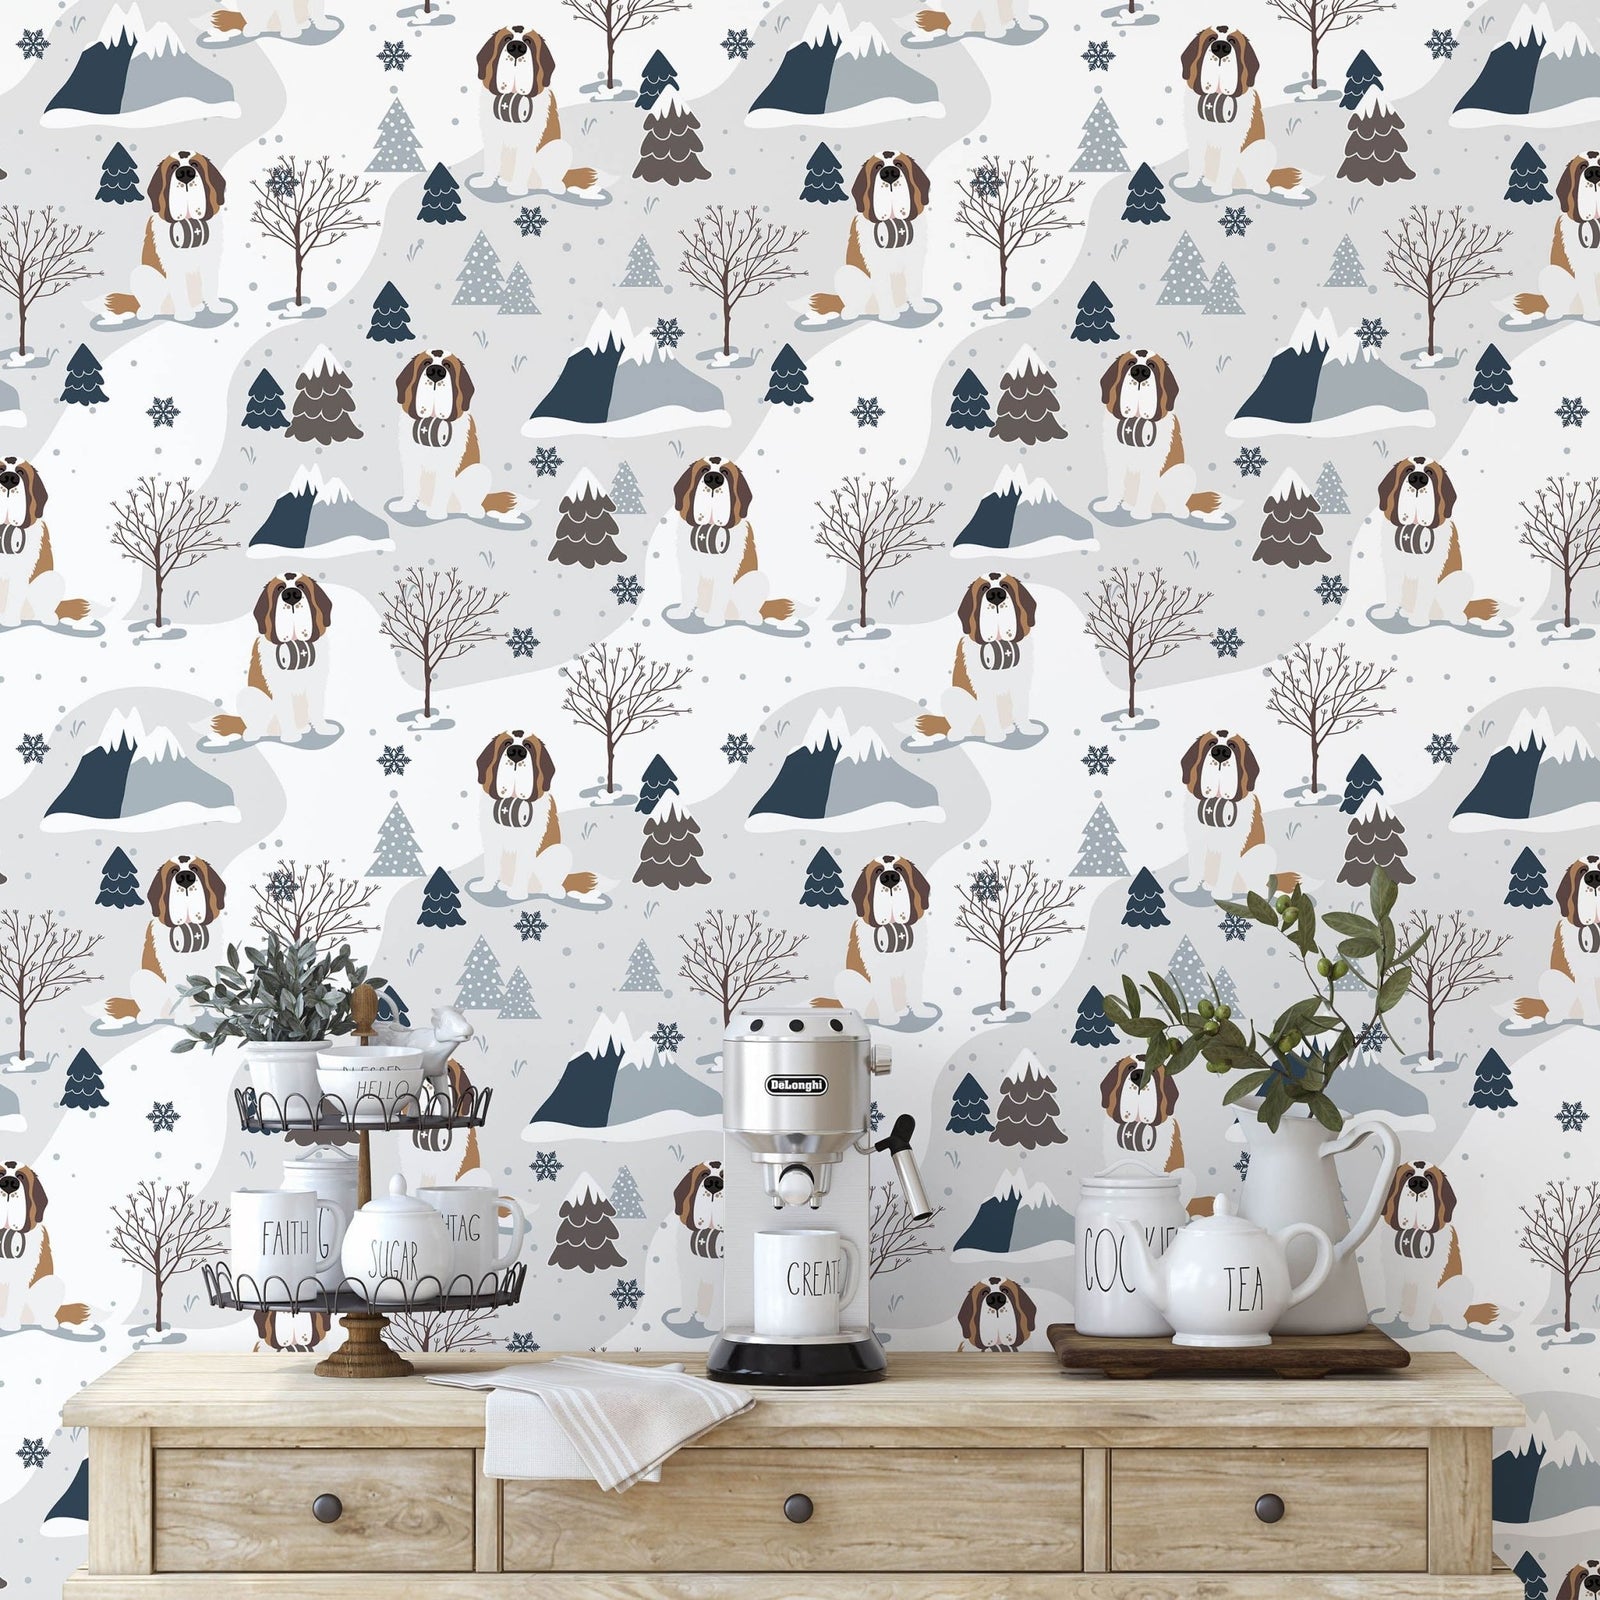
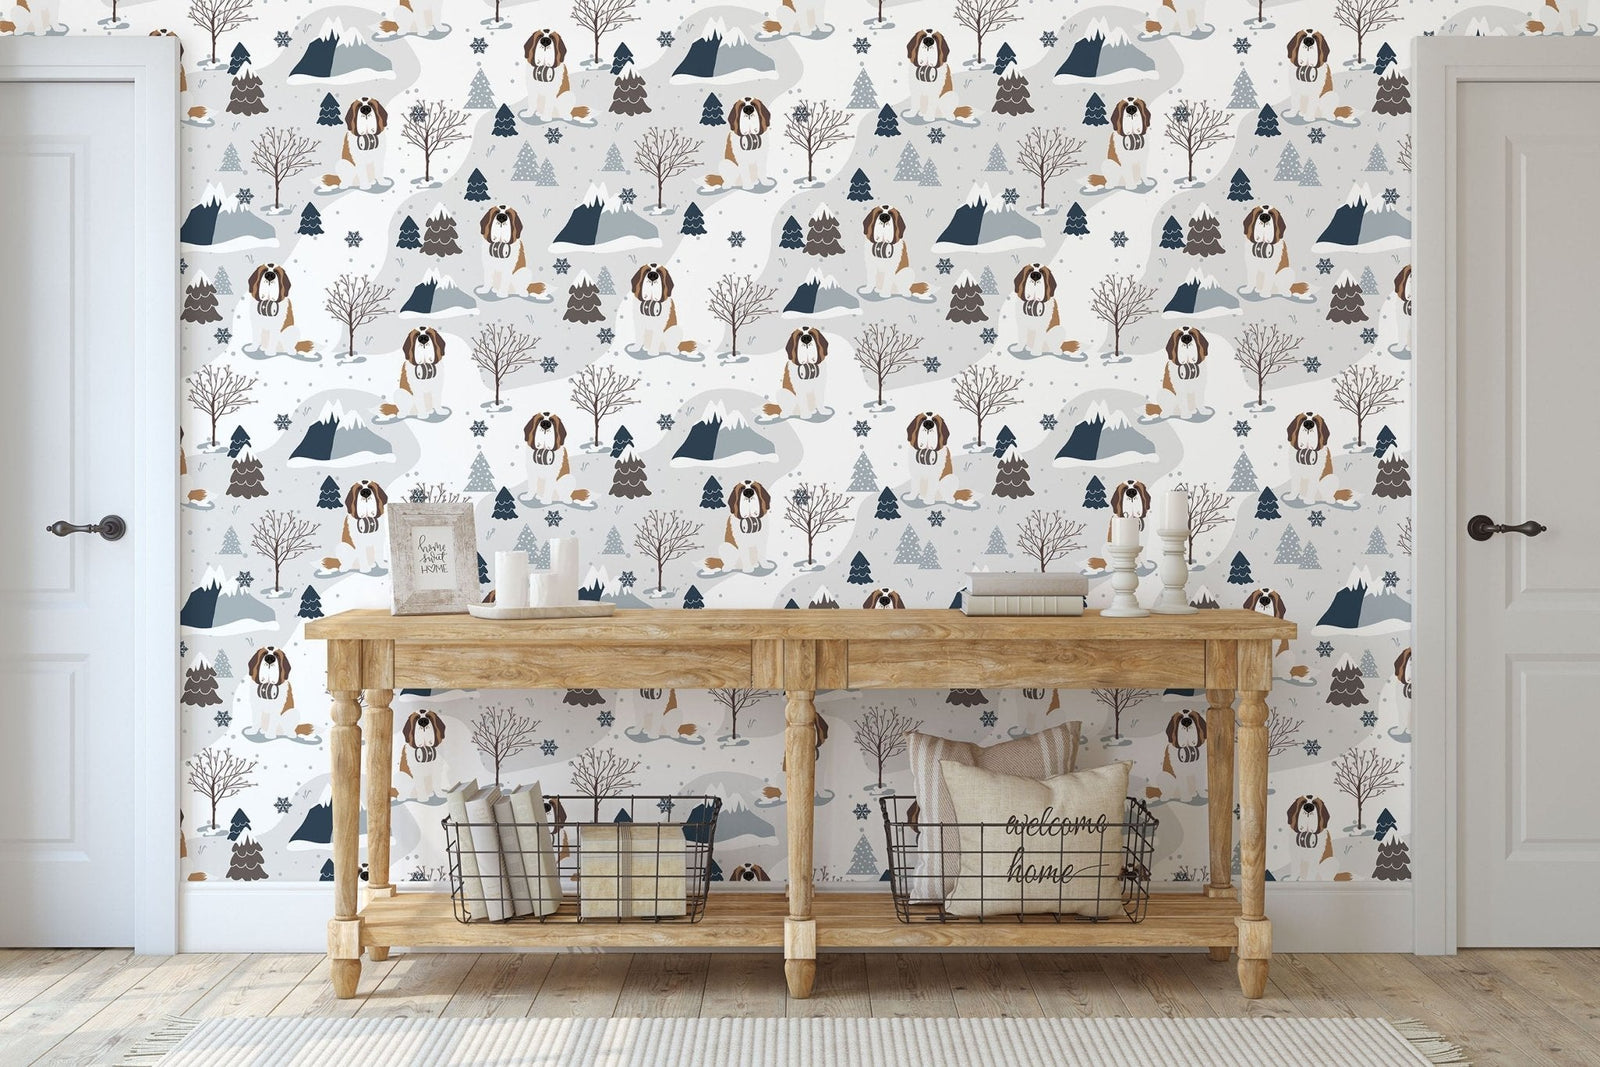
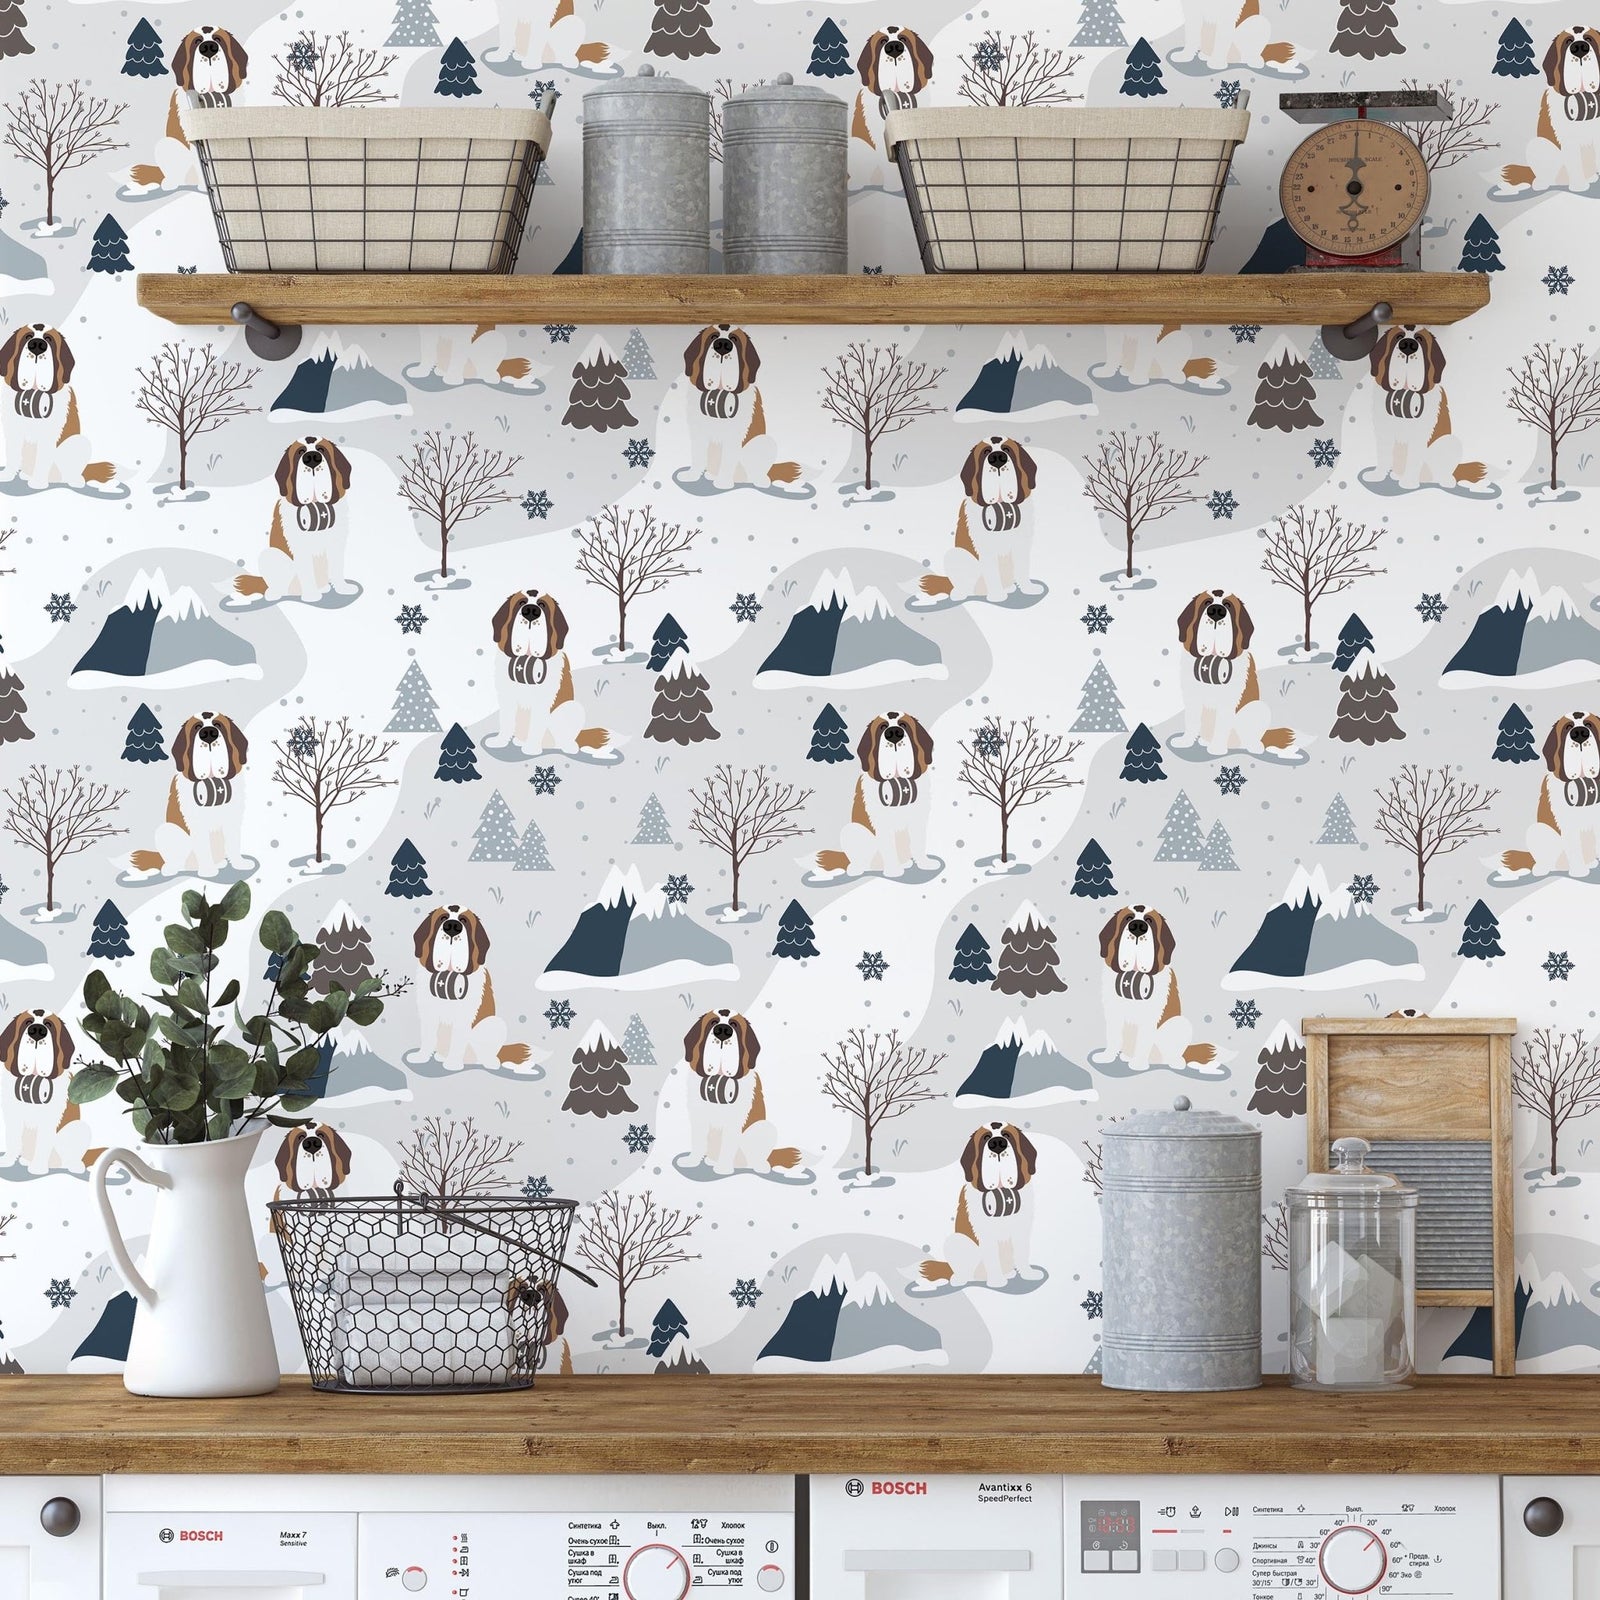
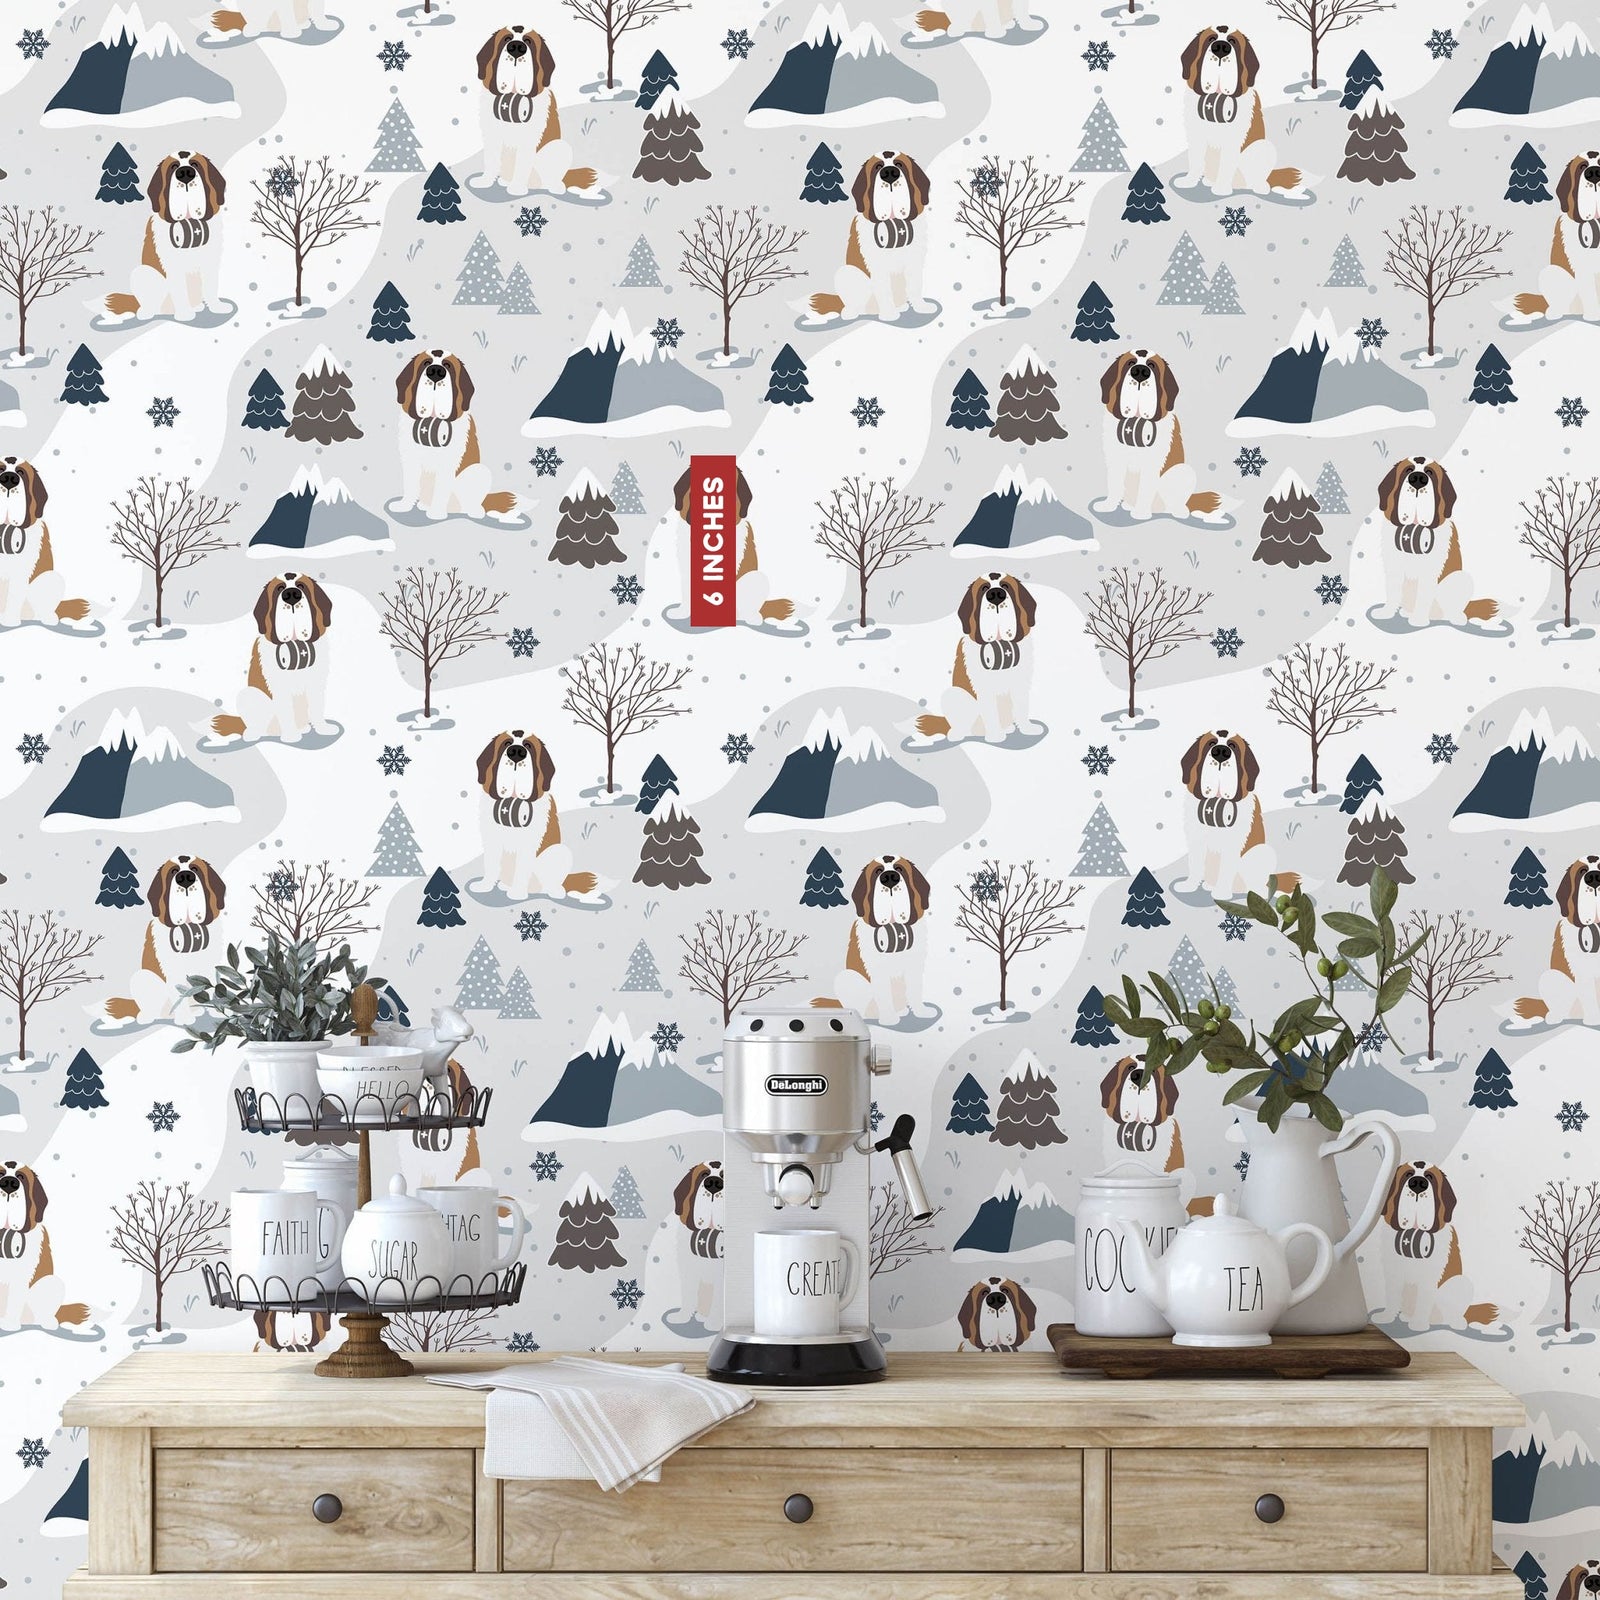
Alpine Saint Bernard Peel + Stick Wallpaper

Roll Size

Perfect for a feature wall, an office, the laundry room, the baby's room or any room that needs a little saintly touch to it. To help you envision the scale of the wallpaper design, the Saint Bernard dog graphic is 6 inches in height.

Peel + Stick

You can remove and replace the wallpaper multiple times; however, once the adhesive collects too much dust, dirt or fibres it will become less effective and may not stick as well to your surface

• 100% polyester fabric
• Made of 100% polyester fabric with an adhesive backing
• Formaldehyde-, phthalate-, + PVC-free
• Clean with a gentle damp cloth/sponge
• Instructions + squeegee included (squeegee not included in sample size order)

SURFACES NOT RECOMMENDED: Textured/Uneven Walls, Dark/Multi-colored walls, Wallpapered walls; Brick/Cinder block; Unpainted Drywall/Sheetrock or Plaster; Outdoors; Non-stick Paint. Do not place wallpaper in an area likely to have steam or heat, like a Kitchen or Bathroom as it is likely to cause issues, such as peeling.

Standard Wall Height

Wall heights can vary depending on where you live, but on average the standard ceiling height in the United States is 8'. Many new homes have a higher ceiling height anywhere between 9' - 10'.

For example, if your room measured 8' x 10' you would need 4 panels of the 10-foot roll. 

We recommend ordering more than you need, dye lots are subject to have different shades of white if ordered at different times. 

Applying Peel + Stick Instructions

Tools Needed:

  • Tape Measure
  • Level
  • Straight Edge or Ruler
  • Squeegee

Step 1: Prep Your Walls

Using a damp cloth or sponge, clean the surface with warm water and mild soap. Allow the walls to dry for a minimum of 24 hours. While cleaning your wall take the last opportunity to finally check: is this a smooth surface? Orange peel, knockdown or a rough wall will make the peel and stick wallpaper a challenge to adhere to the wall, if the surface is not smooth we recommend the conventional commercial wallpaper with paste or wall glue. 

Step 2: Plan It Out

Lay panels flat and measure where your panels will be placed. 

Step 3: Application

Place the first strip and peel away the paper backing a few inches at a time - from the top of the roll. Support the roll and peel the back of the wallpaper slowly as you go. Align the top of the artwork with the ceiling, making sure it is straight and even on the wall. If you need to adjust the placement, slowly peel the paper off the wall and reapply as necessary. Once the top of the strip is in position, gently peel the paper backing down a foot at a time and smooth the paper onto the wall, moving from the center outwards. If necessary, use the squeegee to smooth air bubbles to the edge of the design, being careful not to damage it. Pick up your second strip and apply it so that the left side aligns the right side of the previous, matching up the design. Repeat this step, moving from left to right and aligning each new strip with the strip to its left. 

Step 4

Once you’ve applied all strips, use a blade to trim any excess paper at the edges of the wall.

WARNING: DO NOT apply wallpaper with wet hands or a sponge. DO NOT use dull scissors/blade if cutting wallpaper. Buyer assumes risk that damage may occur during install and/or removal, Lucy + Norman is not responsible for any damage.

Removing Peel + Stick Instructions

Starting in the top left corner, pry up wallpaper gently with a putty knife. Once it starts to come up, peel very slowly at a 45° angle and at a constant speed. Do not pull straight or yank it fast, this could damage the wall. If necessary, use a heat gun to warm the adhesive as you pull. WARNING: Damage may occur when removing such as paint or drywall. 

The Droolworthy Details

Perfect for a feature wall, an office, the laundry room, the baby's room or any room that needs a little saintly touch to it. To help you envision the scale of the wallpaper design, the Saint Bernard dog graphic is 6 inches in height.

Peel + Stick

You can remove and replace the wallpaper multiple times; however, once the adhesive collects too much dust, dirt or fibres it will become less effective and may not stick as well to your surface

• 100% polyester fabric
• Made of 100% polyester fabric with an adhesive backing
• Formaldehyde-, phthalate-, + PVC-free
• Clean with a gentle damp cloth/sponge
• Instructions + squeegee included (squeegee not included in sample size order)

SURFACES NOT RECOMMENDED: Textured/Uneven Walls, Dark/Multi-colored walls, Wallpapered walls; Brick/Cinder block; Unpainted Drywall/Sheetrock or Plaster; Outdoors; Non-stick Paint. Do not place wallpaper in an area likely to have steam or heat, like a Kitchen or Bathroom as it is likely to cause issues, such as peeling.

Standard Wall Height

Wall heights can vary depending on where you live, but on average the standard ceiling height in the United States is 8'. Many new homes have a higher ceiling height anywhere between 9' - 10'.

For example, if your room measured 8' x 10' you would need 4 panels of the 10-foot roll. 

We recommend ordering more than you need, dye lots are subject to have different shades of white if ordered at different times. 

Applying Peel + Stick Instructions

Tools Needed:

  • Tape Measure
  • Level
  • Straight Edge or Ruler
  • Squeegee

Step 1: Prep Your Walls

Using a damp cloth or sponge, clean the surface with warm water and mild soap. Allow the walls to dry for a minimum of 24 hours. While cleaning your wall take the last opportunity to finally check: is this a smooth surface? Orange peel, knockdown or a rough wall will make the peel and stick wallpaper a challenge to adhere to the wall, if the surface is not smooth we recommend the conventional commercial wallpaper with paste or wall glue. 

Step 2: Plan It Out

Lay panels flat and measure where your panels will be placed. 

Step 3: Application

Place the first strip and peel away the paper backing a few inches at a time - from the top of the roll. Support the roll and peel the back of the wallpaper slowly as you go. Align the top of the artwork with the ceiling, making sure it is straight and even on the wall. If you need to adjust the placement, slowly peel the paper off the wall and reapply as necessary. Once the top of the strip is in position, gently peel the paper backing down a foot at a time and smooth the paper onto the wall, moving from the center outwards. If necessary, use the squeegee to smooth air bubbles to the edge of the design, being careful not to damage it. Pick up your second strip and apply it so that the left side aligns the right side of the previous, matching up the design. Repeat this step, moving from left to right and aligning each new strip with the strip to its left. 

Step 4

Once you’ve applied all strips, use a blade to trim any excess paper at the edges of the wall.

WARNING: DO NOT apply wallpaper with wet hands or a sponge. DO NOT use dull scissors/blade if cutting wallpaper. Buyer assumes risk that damage may occur during install and/or removal, Lucy + Norman is not responsible for any damage.

Removing Peel + Stick Instructions

Starting in the top left corner, pry up wallpaper gently with a putty knife. Once it starts to come up, peel very slowly at a 45° angle and at a constant speed. Do not pull straight or yank it fast, this could damage the wall. If necessary, use a heat gun to warm the adhesive as you pull. WARNING: Damage may occur when removing such as paint or drywall.